
It’s easy and fun to make some adorable decorations from salt dough. The greatest thing is that you can make your own salt dough right at home with only 3 simple ingredients. You can also let your kids join in this fun activity. Salt dough can be used to create many lovely and unique decorations, such as ornaments and lasting keepsakes with your personal touch. This kind of DIY salt dough project is affordable and definitely a great way for you to spend a joyful time with your family or kids.
So, check your kitchen counter right away for ingredients and try to see how easy this salt dough recipe will be. We also provide you with some choices of great tools so that you can create flawless salt dough ornaments. Let’s start this fun craft right away!
What is Salt Dough?
Salt dough is an easy and moldable medium for creating ornaments and miniature sculptures. It is pliable, allowing you to shape and customize items easily. While the main ingredient is all-purpose flour, the salt acts as a natural preservative that keeps your creations last for years.
Salt dough is the favorite choice of many people for DIY crafts because of its non-toxic ingredients and low cost. Moreover, you seem to be able to get all the things for the salt dough recipe you need right in the kitchen. After shaping, the dough can be air-dried or baked to solidify and decorate later. It’s a fun, adaptable creative activity that will be suitable for all ages!
Recommended Tools To Make Salt Dough
Great tools will help you have awesome salt dough ornaments. That’s why we are providing you with some suggestions of tools to best support you in salt dough crafting.
Best Cookie Cutters Overall
Wilton 101 Cookie Cutters Set
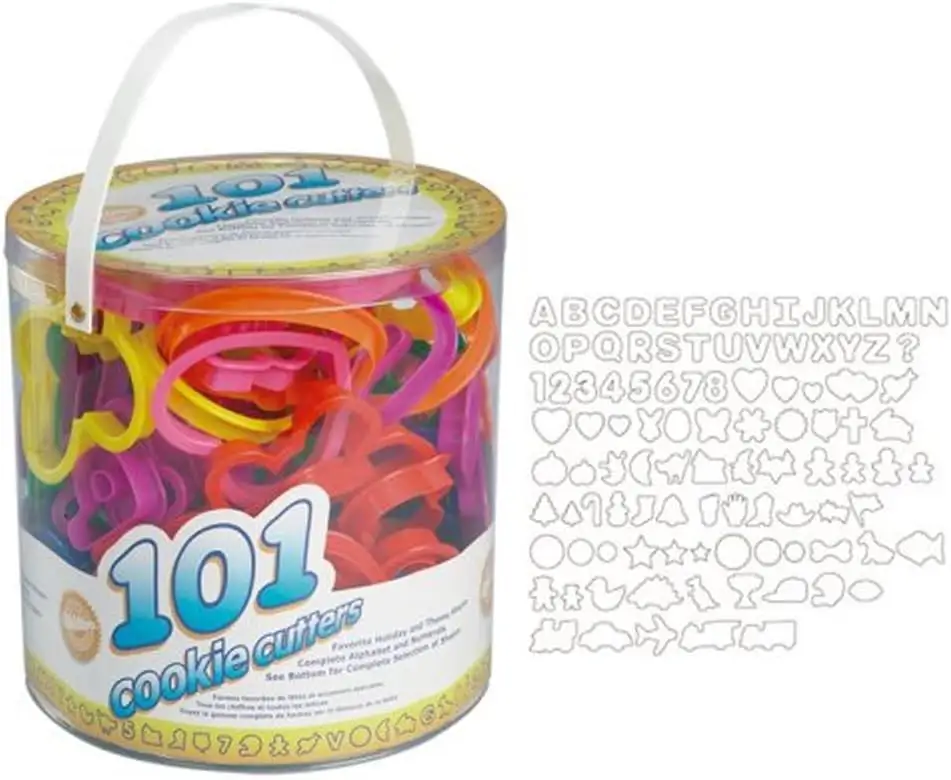
Photo credit: Amazon
Product Information
- Brand: Wilton
- Material: Plastic
- Theme: Alphabet, Shapes, Animals, Flowers
- Quantity: 101 pieces
$24.99
- Set of 101 different shapes
- Safe plastic material
- Can be used for baking & crafting
- Easy to clean & dishwasher safe
- Great value for the price
- Some key holiday shapes are missing
Why We Love It
The Wilton 101 Cookie Cutters Set is highly appreciated because it offers exceptional variety and value for the price. This set includes 101 colorful plastic cutters for a variety of holidays. Each cutter measures approximately 3.5 by 3.5 inches, with a 1/3-inch comfort edge and deep blade for easy handling. These cutters can be used for cookies, sandwiches, and even craft projects with clay and salt dough. You also can put these cutters in the dishwasher for easy cleaning.
Best Cutter For Salt Dough Recipe
Wilton Christmas Shapes Metal 18-piece Cutter Set
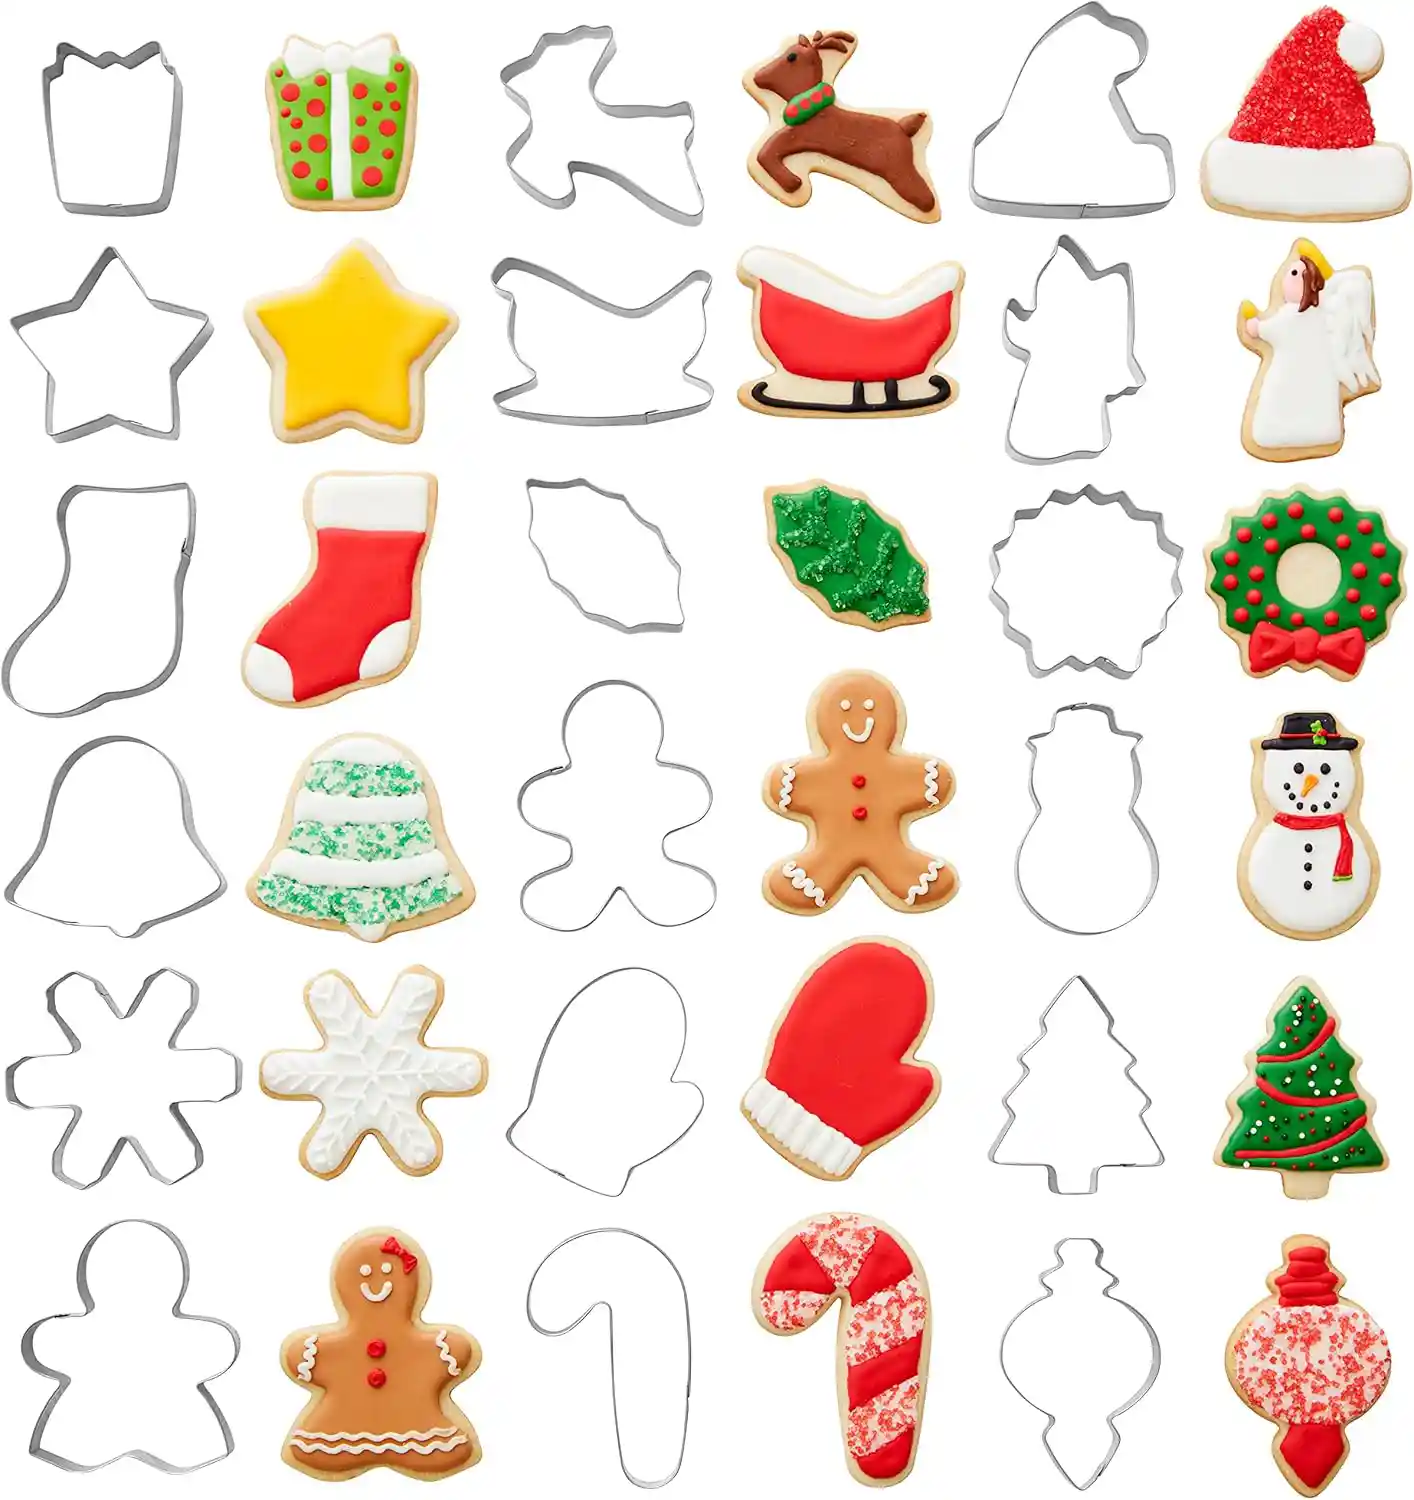
Photo credit: Amazon
Product Information
- Brand: Wilton
- Material: Steel
- Theme: Christmas Shapes
- Quantity: 18 pieces
$12.49
- Various Christmas-themed shapes
- Sturdy material and design
- Include a convenient storage container
- Come with a recipe for roll-out dough
- Affordable price
- It may go rust if not dried thoroughly
- Sizes may be small for some people
Why We Love It
This is a playful Wilton Christmas Shapes Metal 18-piece Cutter Set in various shapes for Christmas. Each cutter is roughly 3 inches tall, firm enough to hold its shape well while cutting through dough with ease. The product comes with a reusable plastic storage container, which is convenient to keep the cutters organized and ready for use.
One of the highlights is the enormous variety of festive shapes, such as a Christmas tree, reindeer, snowman, star, gingerbread man, and many more. It makes for a great gift for kids and novices in baking and crafts. Even better, it comes with a roll-out cookie dough recipe that simplifies the process for beginners.
Best Dinosaur Cutter For Making Salt Dough
Lubtosmn Dinosaur Cookie Cutter Set
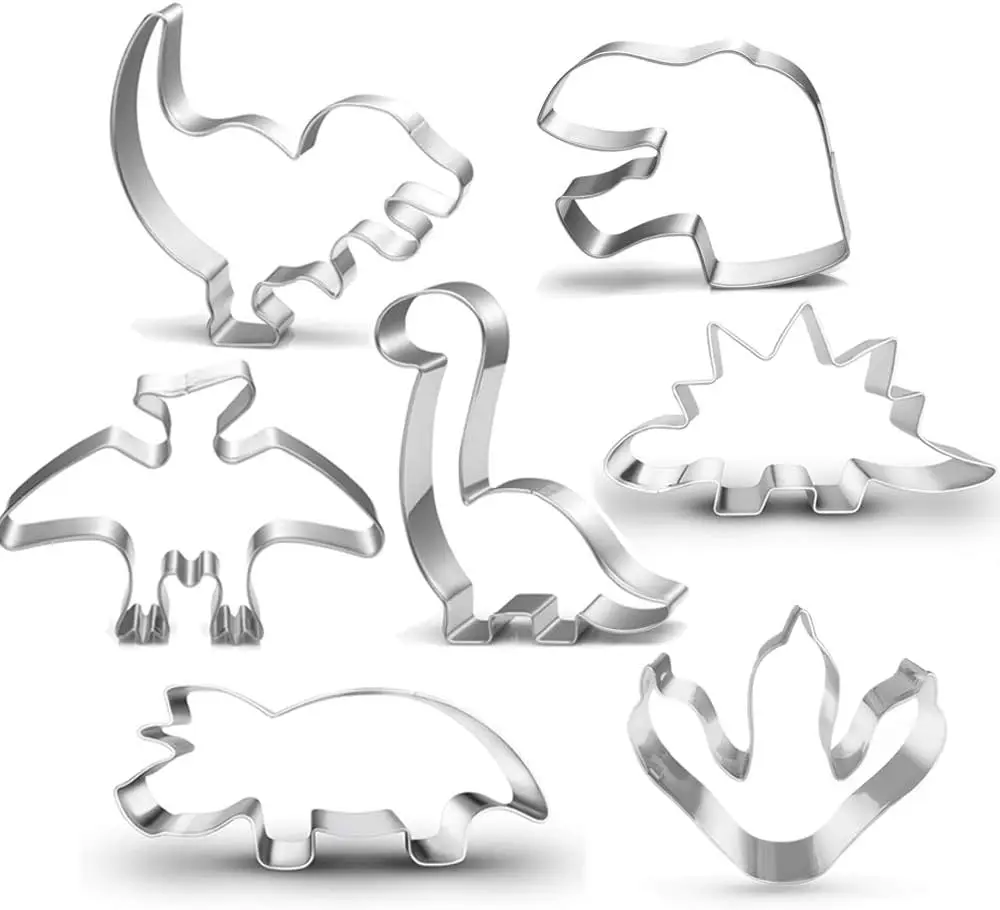
Photo credit: Amazon
Product Information
- Brand: Lubtosmn
- Material: Stainless steel
- Theme: Dinosaur
- Quantity: 7 pieces
$13.99
- Made of stainless steel, sturdy & well-constructed
- Distinct & adorable dinosaur shapes
- Easy to clean with minor effort
- Multi-functional, suitable for salt dough craft & cakes
- Dough may stick to the metal joints
Why We Love It
The Lubtosmn Dinosaur Cookie Cutter Set is a fun and versatile addition to your crafting collection. These cutters are made from food-grade stainless steel, thus they are durable, safe, and resistant to rust for long-lasting use. This set includes 7 adorable dinosaur shapes with a depth of 1 inch and easy-to-handle sizes, about 3.5″ x 3″ in size, making them very easy to use by both kids and adults. Besides homemade salt dough, you also can use these cute dinosaur cutters for clay modeling, cutting cookies, pancakes, sandwiches, fondant, soft fruits, and bread.
Best Acrylic Paint Color For Salt Dough Craft
Caliart Acrylic Paint Color & Brushes Set
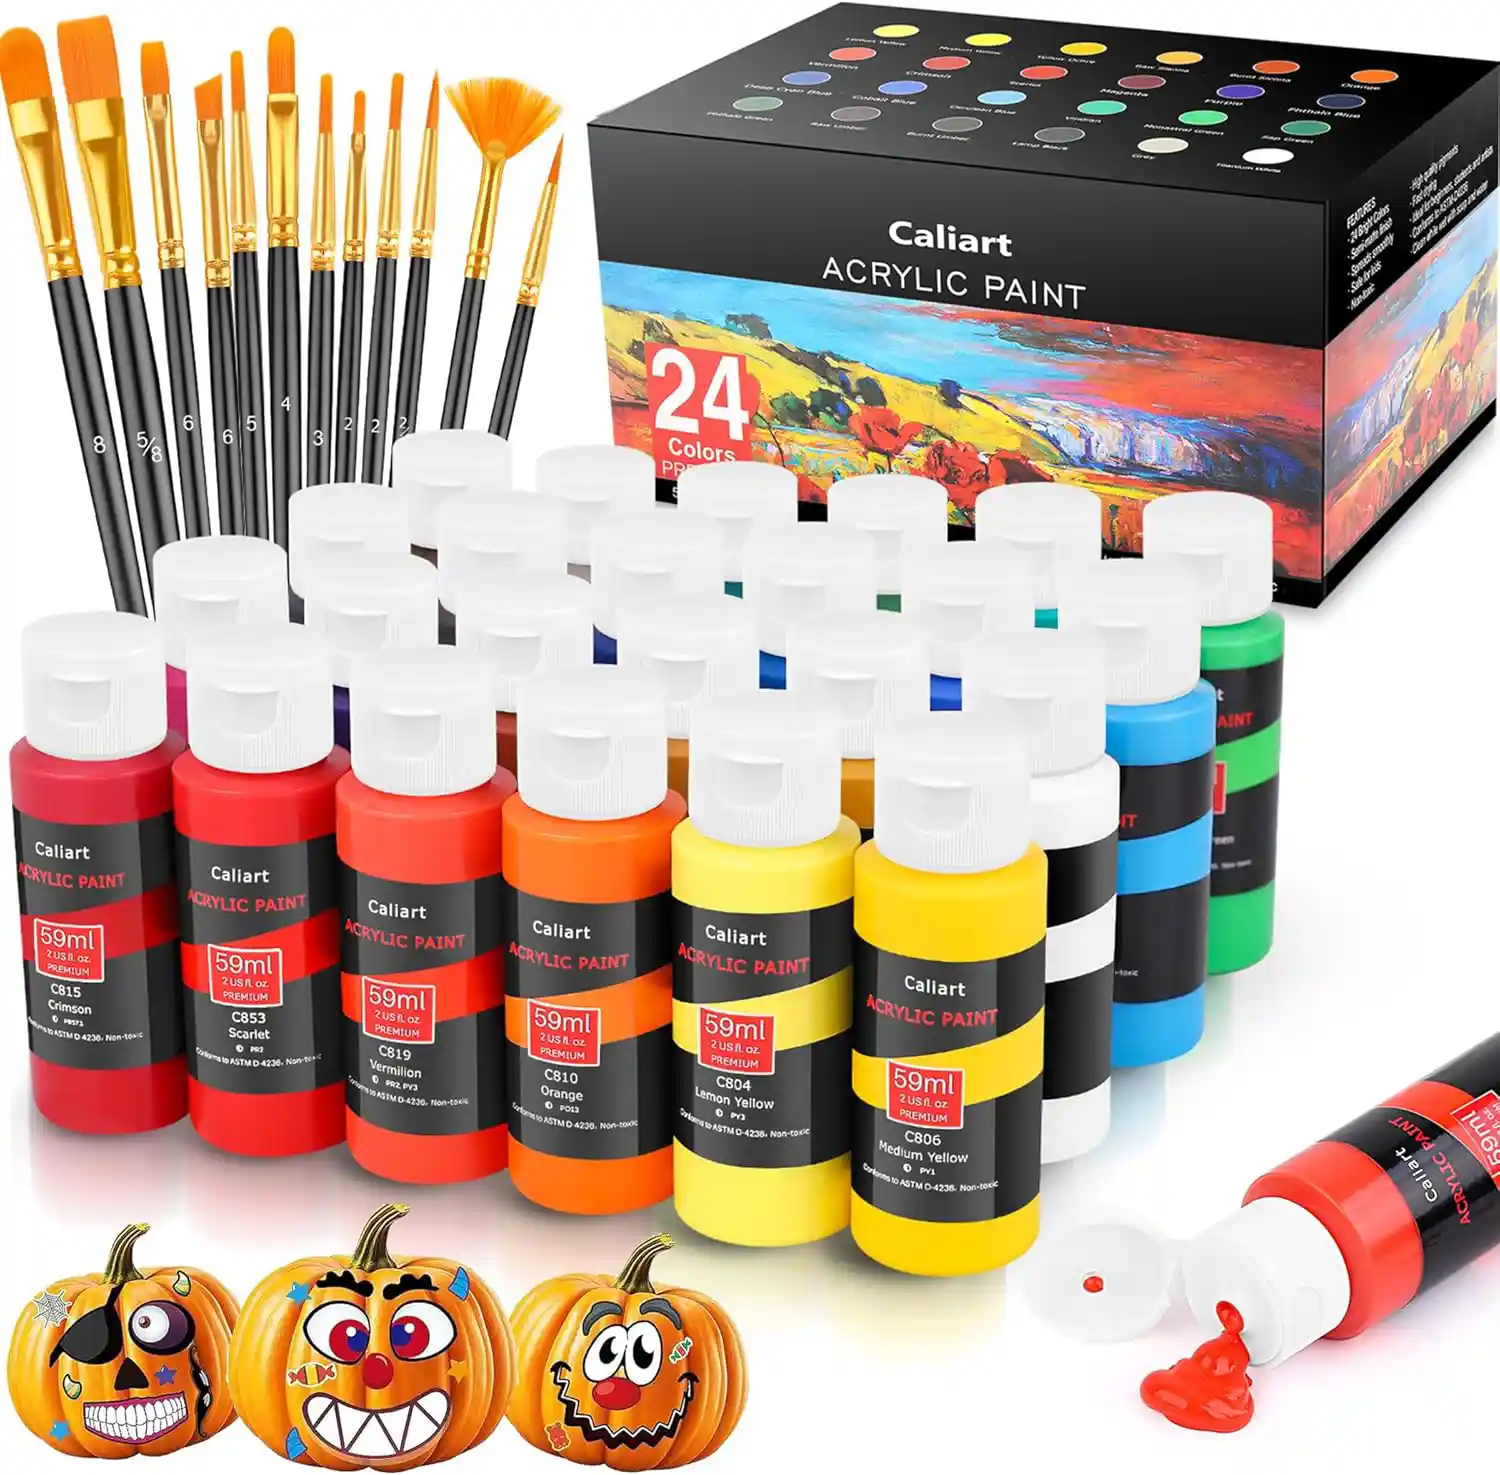
Photo credit: Amazon
Product Information
- Brand: Caliart
- Paint Type: Acrylic
- Finish Type: Metallic
- Quantity: 12 brushes & 24 colors
$27.61
- Wide range of 24 vibrant colors
- Non-toxic paint & safe for kids
- Work on multiple surfaces, including salt dough
- Affordable price with great value
- Convenient storage box with 12 brushes
- Brushes may not be highly durable
- Some colors may need multiple coats for the desired opacity
Why We Love It
You can’t lack paint color in your salt dough ornament recipe. This Caliart Acrylic Paint Color & Brushes Set is a great starter for both beginners and experienced artists. With 12 brushes and 24 vibrant colors, the paints go on smoothly, dry fast, and have rich pigmentation for consistent and high-quality results. The creamy consistency makes them ideal to work on a wide variety of surfaces such as paper, stone, ceramics, metal, wood, and canvas, offering unlimited creative possibilities.
Best Washable Paint Color For Salt Dough Craft
Colorations Tempera Washable Paints For Crafts & Arts
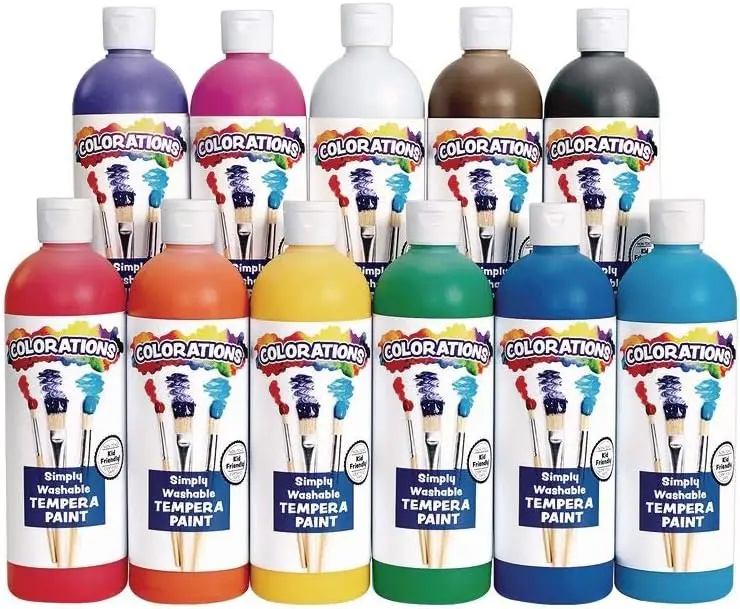
Photo credit: Amazon
Product Information
- Brand: Colorations
- Paint Type: Tempera
- Finish Type: Matte
- Quantity: 11 colors
- Special Feature: Washable
$43.54
- 11 Vibrant & bold colors in large quantities
- Washable formula paint
- Allergen-free and safe for kids
- Durable matte finish
- Can leave stains on the skin & requires effort to clean
Why We Love It
The Colorations Tempera Washable Paints For Crafts & Arts is quite expensive with only 11 colors in the set. However, they are washable and will be ideal to use for children. Tempera paints are suitable for various projects, from decorating salt dough to fun classroom activities. The standout feature of Colorations paint is that it is washable on most surfaces. That means the kids can enjoy painting without worrying about permanent stains. Moreover, the paint has an allergen-free composition, so it’s safe for your child.
Best Kid-sized Rolling Pin To Make Salt Dough
Woodpeckers Mini Wooden Rolling Pins (Pack of 6)
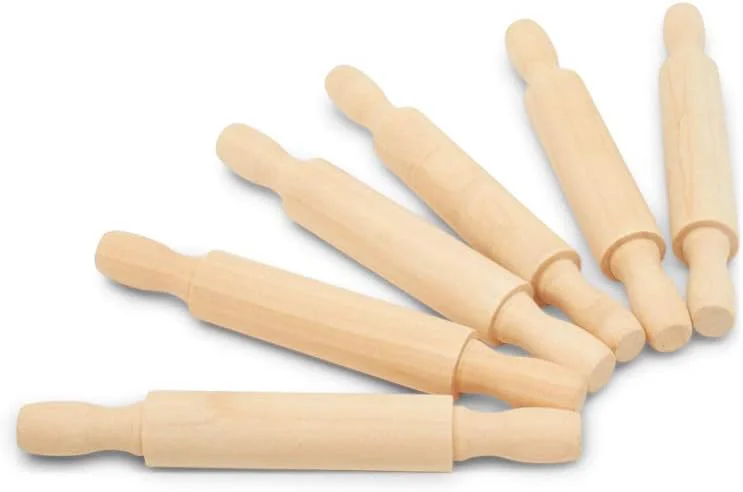
Photo credit: Amazon
Product Information
- Brand: Woodpeckers
- Material: Birch
- Size: 5 inch
- Quantity: Pack of 6
- Item Weight: 13.61 g
$9.99
- Mini size ideal for kids
- Made of nature birch wood
- Smooth surface, perfect for crafting
- Suitable for baking and decorative uses
- Very reasonable price
- Requires varnishing or sealing before using
Why We Love It
These Woodpeckers Mini Wooden Rolling Pins won’t be a good choice for adults, but the kids will surely love them. They are made of high-quality birch wood and are ideal for creative DIY projects. Sanded surfaces are safe and perfect for children to handle. Although the pins are 5-inch size, they are just perfect for rolling out salt dough, pizza crusts, and even tortillas. These rolling pins are sturdy and look cute, making them ideal for any sensory play or air-dry clay projects at school. Since the rolling pins are made of unfinished wood, they do need to be varnished or sealed before use with food or playdough.
Best All-Purpose Flour For Salt Dough Recipe
365 Whole Foods Market All-Purpose Flour
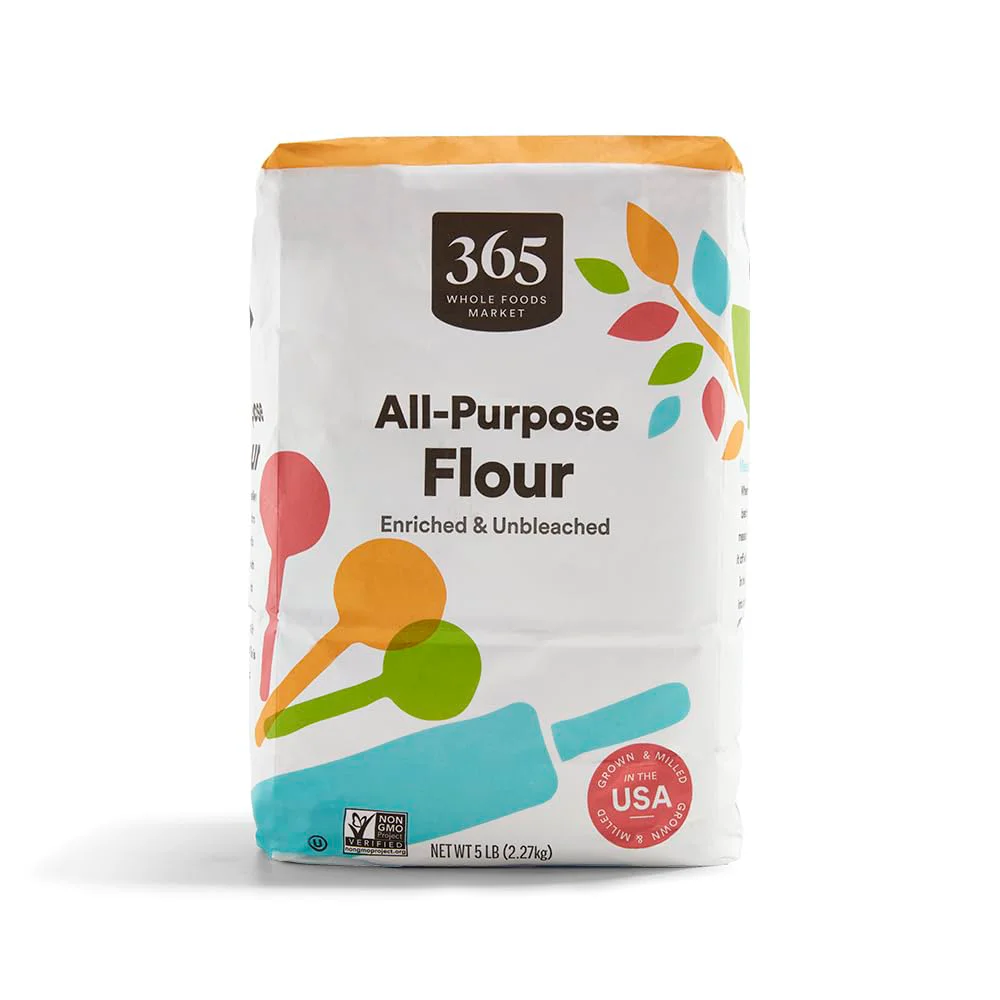
Photo credit: Amazon
Product Information
- Brand: 365 by Whole Foods Market
- Diet Type: Vegan & Kosher
- Ingredients: Enriched & unbleached wheat flour
- Item Weight: 5 pounds
$4.49
- Excellent choice for salt dough & baked goods.
- High-quality texture &flavor.
- Affordable with eco-friendly paper bag
- GMO-Free & Kosher certified
- Packaging could be improved
Why We Love It
The 365 Whole Foods Market All-Purpose Flour is a versatile, high-quality choice for both home bakers and the recipe for salt dough. This unbleached and enriched flour gives the right consistency a variety of recipes call for. The best part is that this product has an extra reasonable price to make salt dough, which is also ideal for bread, pancakes, biscuits, and other baked goods.
Best Value Paint For Salt Dough
FolkArt Enamel Glass Acrylic Paint Set
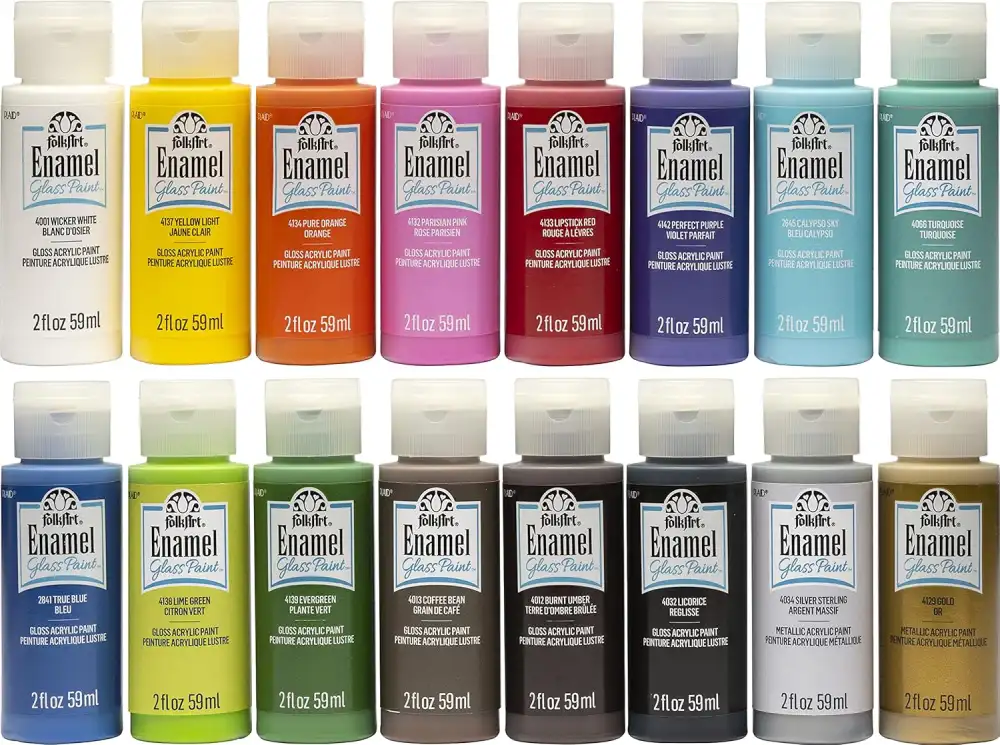
Photo credit: Amazon
Product Information
- Brand: FolkArt
- Paint Type: Acrylic
- Finish Type: Gloss
- Quantity: 16 colors
- Special Feature: Non-toxic
$37.79
- Wide range of vibrant, mixable colors.
- Provide durable, glossy, & scratch-resistant finish.
- Oven-curable & safe for dishwasher
- Easy cleanup with soap & water
- Metallic tones may not be intense enough for some people
Why We Love It
FolkArt Enamel Glass Acrylic Paint Set includes 16 richly pigmented 2 oz bottles. They come in various colors with metallic tones such as Silver Sterling and Gold. Each color dries to a glossy, durable finish that’s scratch-resistant and dishwasher-safe once cured in an oven. This makes it ideal for creating stunning designs on glass, ceramics, or even everyday household items like mugs and plates. The dazzling results are well worth your effort for sure.
Best Rolling Pin For Dough
HelferX Large Wooden Rolling Pin
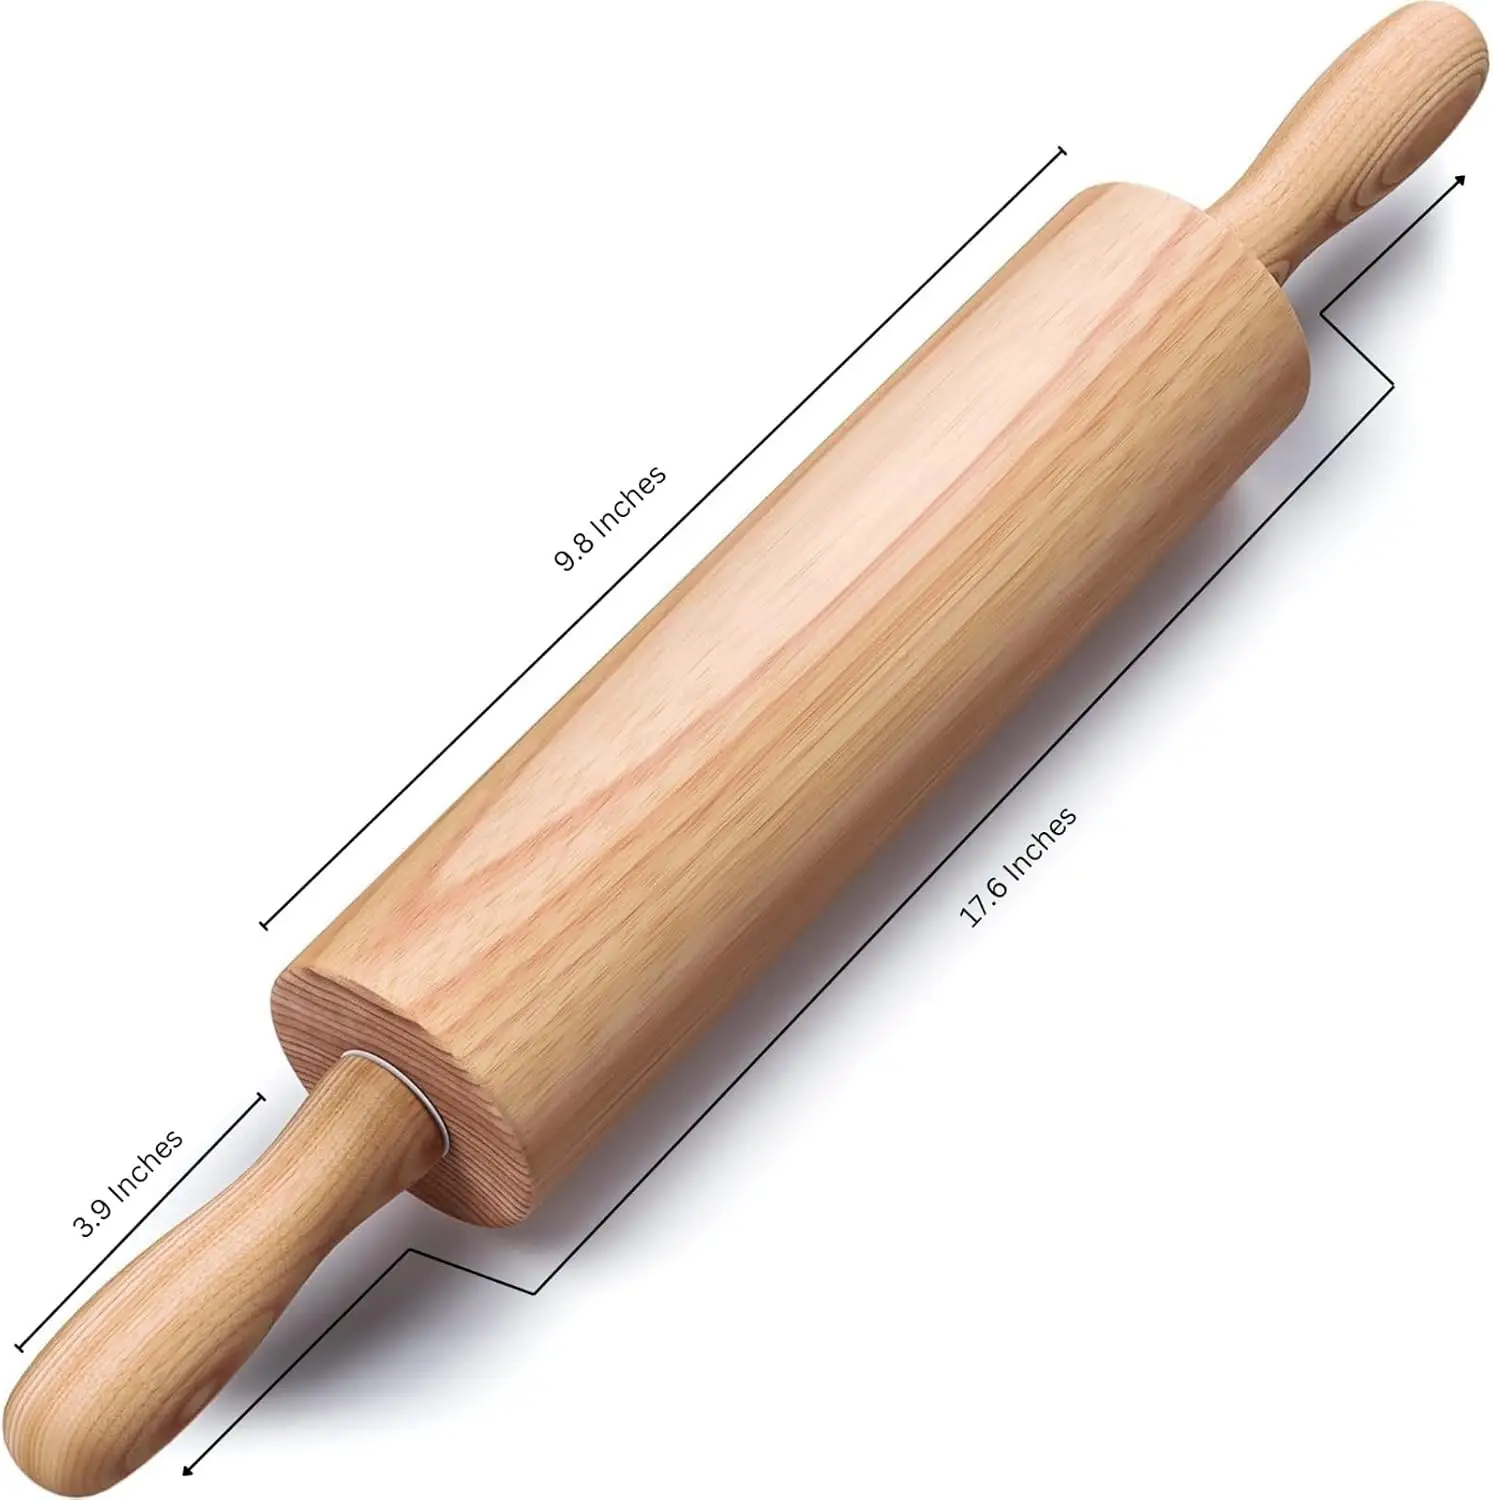
Photo credit: Amazon
Product Information
- Brand: HELFERX
- Material: Wood
- Product Dimensions: 18″L x 2.5″W
- Item Weight: 1.1 pounds
$9.99
- Made of natural hard oak wood
- Smooth & non-stick surface
- Dishwasher safe for easy cleaning
- Versatile use for baking and cooking tasks
- Affordable & high-quality
- Need to wipe out after each washing
Why We Love It
The HelferX Large Wood Rolling Pin is manufactured from hard oak wood. It provides a smooth, non-stick surface for the perfect rolling dough for salt dough and pizza to pastries. Since this rolling pin is made of natural wood construction, it is free from synthetic chemicals and safe for cooking. The HelferX pin is dishwasher-safe which makes your cleanup hassle-free. You should wipe the rolling pin dry with a soft cloth after washing.
Best Vale Finish Sealer
Mod Podge Non-Toxic Gloss Finish Sealer
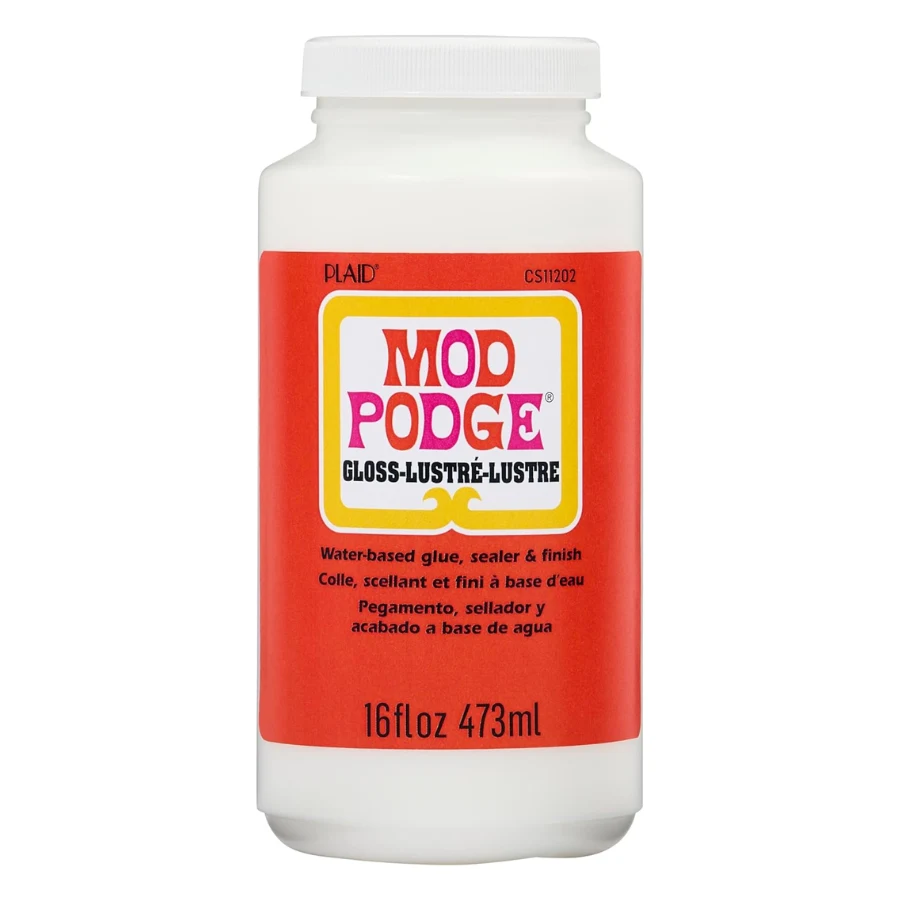
Photo credit: Amazon
Product Information
- Brand: Mod Podge
- Form: Liquid
- Material: Wood, Paper
- Item Volume: 16 ounces
- Item Weight: 1 pound
$7.99
- Can be used for various crafting surfaces & projects.
- Provide a clear, glossy finish & dry quickly
- Non-toxic & easy to clean
- Made in the USA with quality craftsmanship.
- Not fully waterproof
- May need extra application on textured surfaces
Why We Love It
Mod Podge Non-Toxic Gloss Finish Sealer will work as a finish on salt dough, wood, fabric, canvas, paper, and many other surfaces. It adds a polished & professional look to any craft. Mod Podge has quick-drying and non-toxic ingredients that are safe for your kids to use. This 16-oz bottle lasts quite a long time through many projects. However, the product might not provide completely waterproofing properties as advertised.
Best Parchment Paper
If You Care Parchment Baking Paper
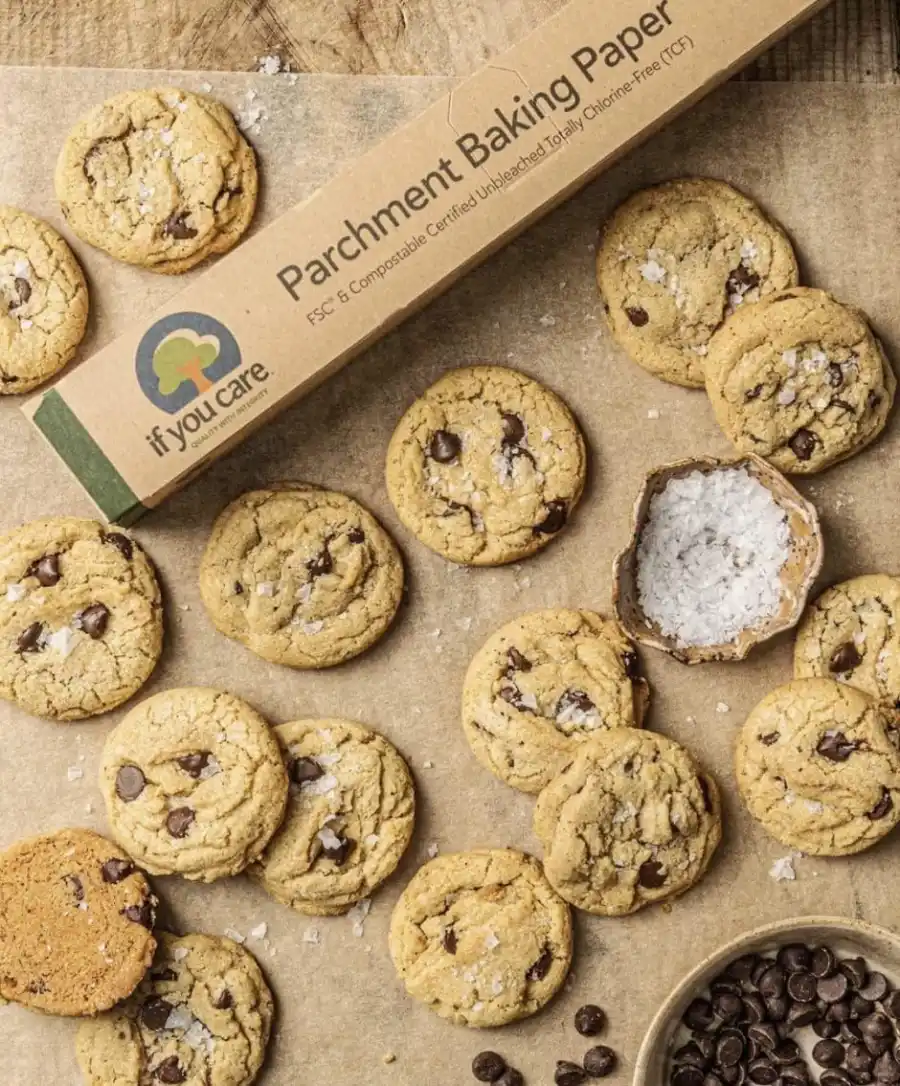
Photo credit: Amazon
Product Information
- Brand: If You Care
- Form: Roll, Sheets
- Material: Paper
- Count: 70 sheets x 70 square feet
- Item Weight: 3.5 ounces
$5.49
- Generous 70 sq ft roll
- Silicone coating without toxic Quilon
- Nonstick & greaseproof
- Versatile for baking, roasting, & food storage
- Eco-friendly & FSC-certified
- No built-in cutting edge
Why We Love It
If You Care Parchment Baking Paper serves in most general kitchen tasks: from baking, and roasting to reheating and wrapping leftovers. When making salt dough, the nonstick and greaseproof properties make your extra effortless. Moreover, this parchment paper is chlorine-free, compostable, and made from FSC-certified paper. They are free from toxic traces without sacrificing quality.
Best Measuring Set
TILUCK Measuring Spoons & Cups Set
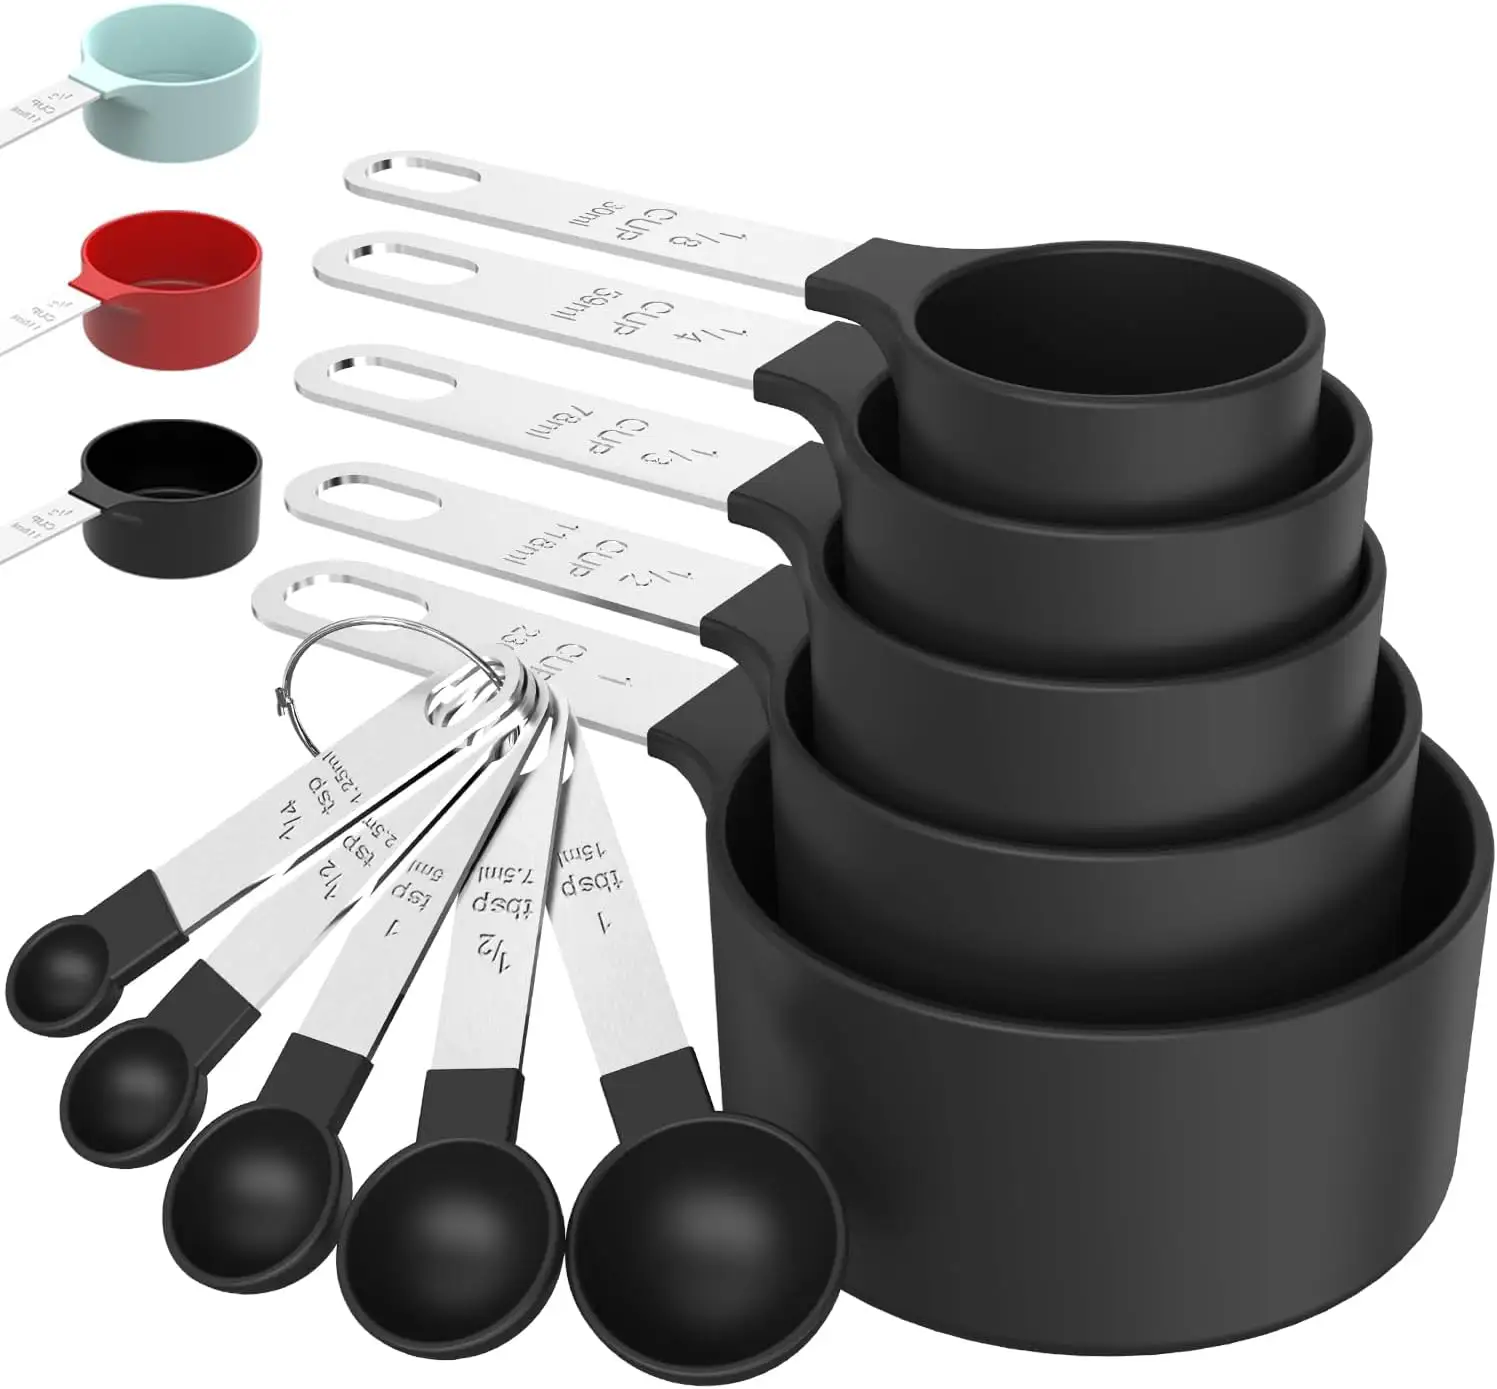
Photo credit: Amazon
Product Information
- Brand: TILUCK
- Material: Plastic, Stainless steel
- Capacity: 240 Milliliters
- Item Weight: 7.4 ounces
$9.99
- Rust-resistant & food-safe material
- Compact, stackable design for convenient storage.
- Excellent value for money
- Durable & high-quality
- Does not include 2/3 or 3/4 cup sizes
Why We Love It
TILUCK Measuring Spoons & Cups Set includes 5 measuring cups and 5 measuring spoons for the ultimate precision in measuring dry and wet ingredients. They are made from food-grade stainless steel with food-safe plastic components. These utensils are resistant to rust, durable, nontoxic, and safe to use. They are also stackable to save space in your kitchen.
Simple & Easy Salt Dough Recipe
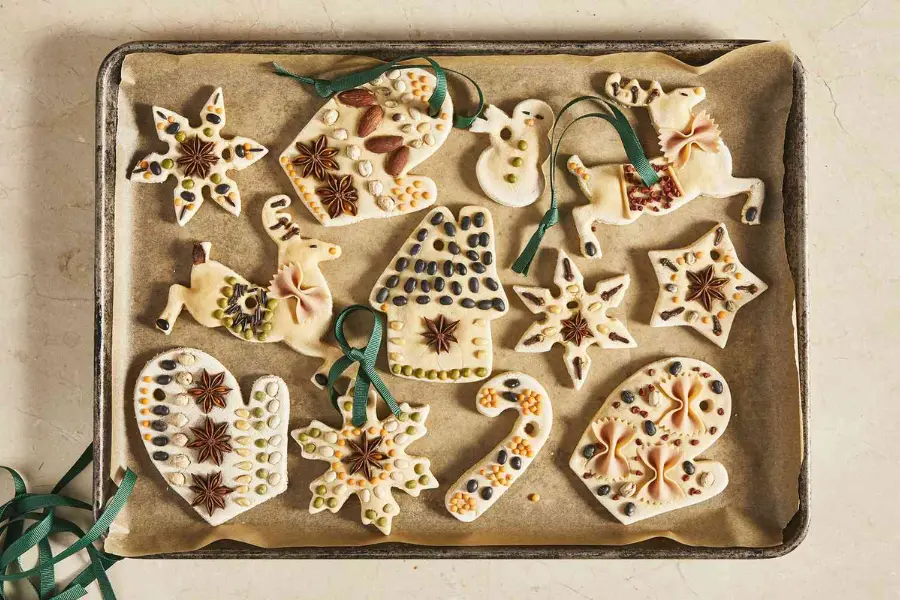
As easy as it gets, the salt dough recipe has just only 3 ingredients. And the best part is that you likely have everything in your pantry that you will need. Let’s break it down so you can get started on your salt dough creations!
Tools You Will Need
Before putting your hand into making salt dough craft, you need to take out the following items:
- Mixing bowl – to mix the ingredients.
- Spatula/Wooden spoon – to combine & stir the ingredients.
- Rolling pin – for rolling out the salt dough.
- Cookie cutters – to shape the dough.
- Oven & Baking sheet – for baking the salt dough.
- Paint tool – to paint the ornaments after baking.
Optional things:
- Toothpick, skewer, lollipop stick, or straw – To create hanging holes in ornaments.
- Threading ribbon or twine – To hang the ornaments.
- Glitter & sealant – For a beautiful & lasting finish.
Ingredients Of Salt Dough Recipe
As we said, you only prepare 3 ingredients to make salt dough. You can start right away because they probably are available on your counter now.
| Ingredients Name | Content |
| All-purpose flour/ Plain flour | 2 cups |
| Table salt | 1 cup |
| Tap water | 1 cup |
How To Make Salt Dough – Step-by-step Guide
It’s exciting and easy to get your kids involved in making salt dough. Anyone can do this and have success from the first time. Keep in mind that salt dough is not edible so you can choose to buy cheap ingredients to save cost.
Step 1: Preheat The Oven
Preheat the oven to 250°F (120°C). Don’t forget to line a baking sheet with parchment.

Step 2: Make the Dough
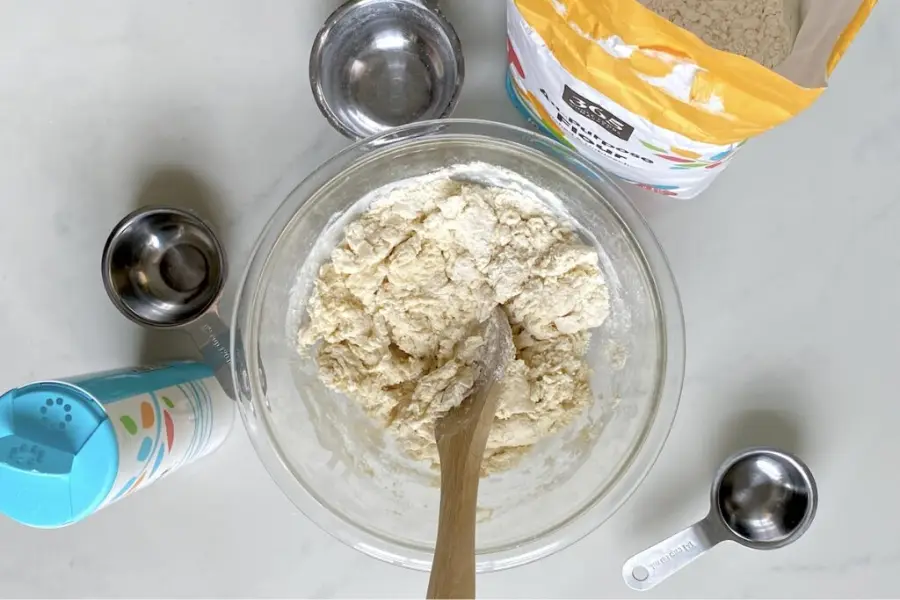
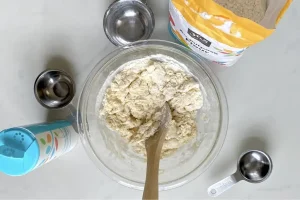
In a large mixing bowl, put all the all-purpose flour and salt together. Then, use the spoon to stir them together until evenly distributed. Then, gradually add the warm water to the dry mixture, stirring constantly until it begins to form a ball.
Step 3: Knead the Dough
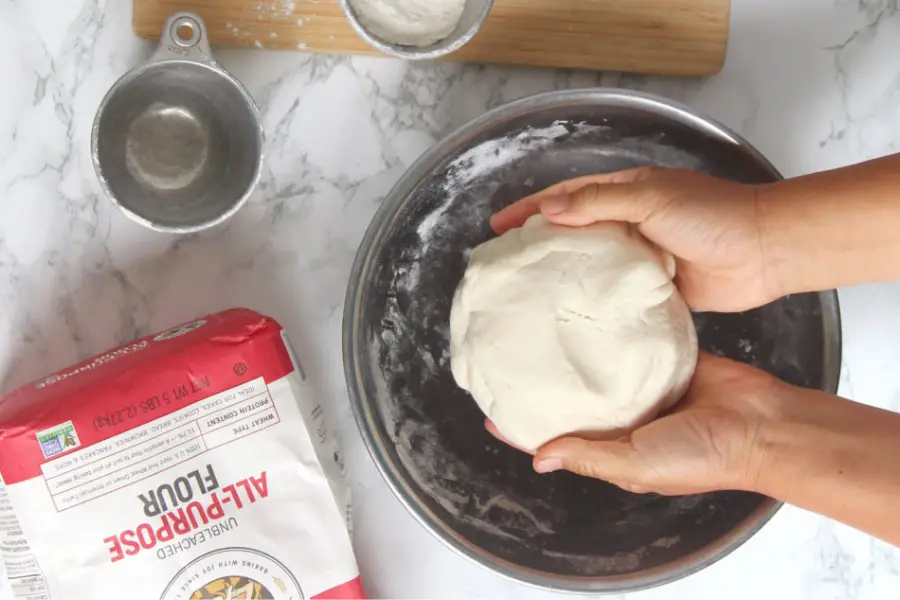
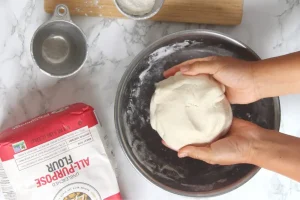
Once the mixture comes together in a shaggy ball, place it onto a flat surface and knead the dough with your hand for about 5–10 minutes. You can stop when the dough becomes smooth, elastic, and not sticky. If it is dry, you can add a teaspoon of water at a time. If the salt dough is too sticky, try adding more flour.
Step 4: Roll Out the Dough
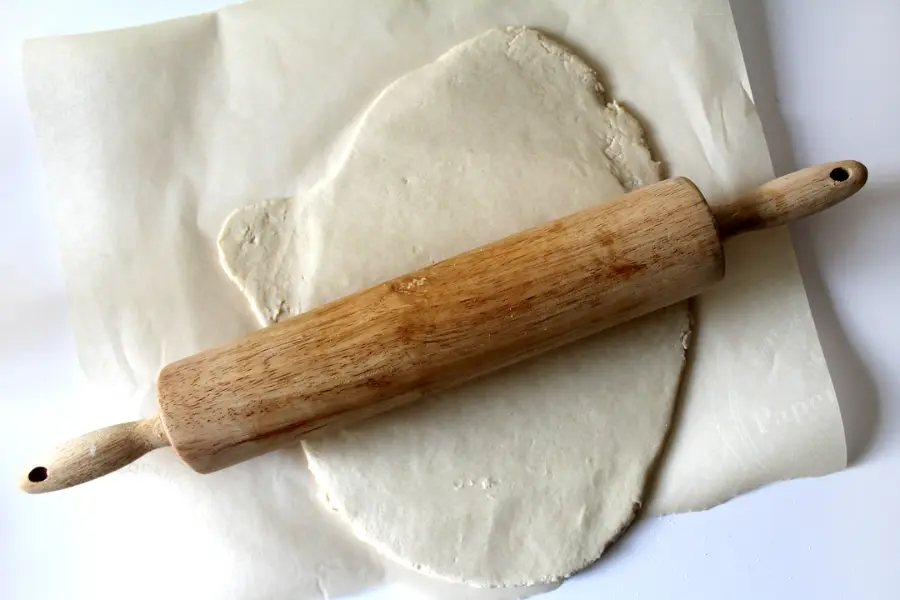
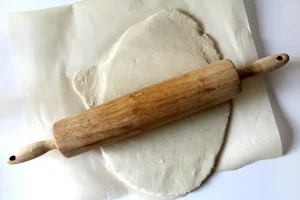
Use a rolling pin and roll the dough out to about ¼ inch thickness. This is a perfect thickness for any of your desirable shapes.
Step 5: Cut Your Shapes
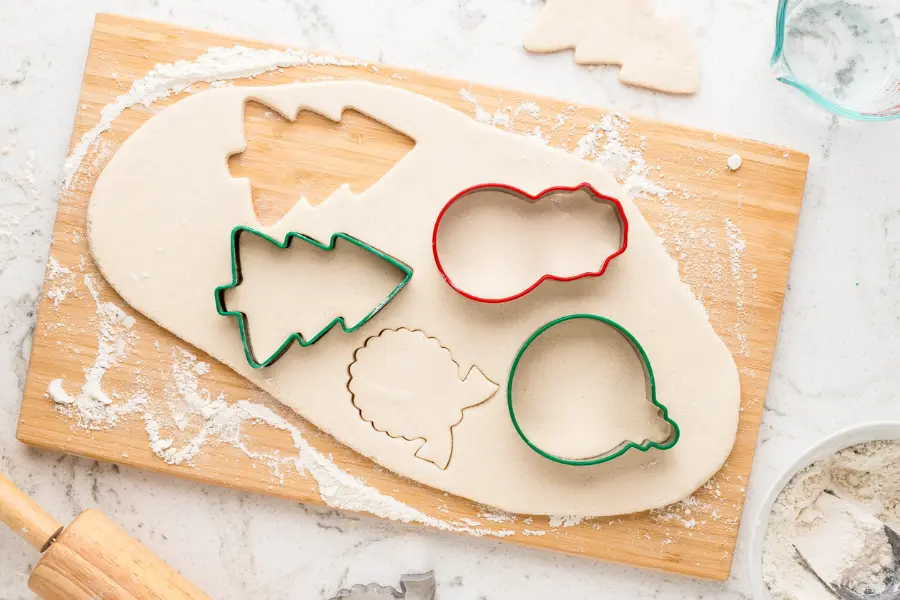
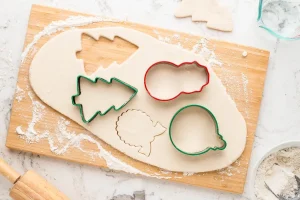
Use cookie cutters of your favorite to cut out desired shapes. For ornaments, use a toothpick or straw to poke a hole at the top for threading ribbon or twine later.
Step 6: Bake the Dough
Transfer the shapes to a baking sheet. Bake for about 3 hours and don’t forget to flip halfway through. The ornaments should be hard and dry after the time. The baking time will vary based on the thickness, so you need to keep an eye on your salt dough ornaments.
Let the baked ornaments cool entirely before painting. Then you can decorate your salt dough items with paint and glitter.

Pro Tips For Perfect Salt Dough Crafting
Salt dough making is fun and rewarding, but a few pro tips can take your crafting to the next level! These tricks will ensure your dough is creative and lasting.
No Bake Salt Dough Recipe
If you want to skip using the oven, a no-bake salt dough recipe is a great alternative. It will take longer to air dry, but it’s equally fun and effective in crafting ornaments or keepsakes. Once you have shaped your creations, take the shapes and place them on a flat surface lined with parchment paper or a non-stick mat.
Allow them to dry in the air for 2–7 days at room temperature, depending on their thickness. Flip them sometimes so that they dry out evenly. To hasten the drying process, place the creations near a fan or open a window for good ventilation.
Amazing Salt Dough Ornament Ideas
If this is your first time trying a salt dough recipe, you may want to look for some inspiration. Here are some excellent salt dough ideas you must try:
1. Handprint Keepsakes – It’s perfect for kids or family projects to capture great moments in time.
2. Pet Paw Prints – This is a sweet way for you to commemorate your furry friend.
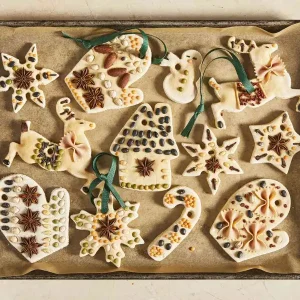
3. Holiday Ornaments – Shape rounds, stars, trees, hearts, socks, snowflakes, and candy sticks are some favorite choices of many people for the coming Christmas.
4. Nature Imprints – You can press leaves, flowers, or shells into the dough to have unique textures on it.
5. Letter & Number Shapes – These shapes are great for educational purposes or home decor.
6. Pendants – Round, oval, and heart are the most common shapes that you can try.
Tips To Preserve Finished Salt Dough Ornaments
For long-lasting salt dough ornaments, seal them properly with a clear acrylic sealant, sealer, or varnish to prevent moisture, and chipping as well as achieve a glossy finish. Store them in a cool, dry place and away from humidity, since it may weaken the dough over time. While salt dough is generally durable, it can be fragile if dropped. Padded storage containers will further protect the ornaments and keep them intact.
Tips To Preserve Left-over Dough
If you happen to have some leftover salt dough, don’t throw it away! You can wrap it closely with plastic wrap or place it in an airtight container to keep it from drying out. The wrapped dough can last in the fridge for up to 3 days. Then, let it come to room temperature and slightly knead before use. For long-term storage, you need to freeze the dough. Thaw the freezer dough in the refrigerator overnight and then knead it well to regain its texture when needed.
Bottom Line
So, you can see the salt dough recipe is super easy and fun to join. You just need all-purpose flour, salt, water, and some basic tools to start this activity. It is great and meaningful if you can make a keepsake or ornament on your own and give it to your loved one. This kind of gift is adorable and will last for years to come. It’s time for you to gather your ingredients and let your creativity run wild.
Salt Dough Recipe
Equipment
- 1 Mixing bowl – To mix the ingredients.
- 1 Spatula/Wooden spoon – To combine & stir the ingredients.
- 1 Rolling Pin – For rolling out the salt dough.
- 1 Cookie Cutter – To shape the dough.
- 1 Oven – For baking the salt dough.
- 1 Baking sheet – For baking the salt dough.
- 1 Paint tool – To paint the ornaments after baking.
- 1 Toothpick, skewer, lollipop stick, or straw (optional) – To create hanging holes in ornaments.
- 1 Threading ribbon or twine (optional) – To hang the ornaments.
- 1 Glitter & sealant (optional) – For a beautiful & lasting finish.
Ingredients
- 2 cups All-purpose flour/ Plain flour
- 1 cup Table Salt
- 1 cup Tap Water
Instructions
- Step 1: Preheat The OvenPreheat the oven to 250°F (120°C). Don’t forget to line a baking sheet with parchment.

- Step 2: Make the DoughIn a large mixing bowl, put all the all-purpose flour and salt together. Then, use the spoon to stir them together until evenly distributed. Then, gradually add the warm water to the dry mixture, stirring constantly until it begins to form a ball.
- Step 3: Knead the DoughOnce the mixture comes together in a shaggy ball, place it onto a flat surface and knead the dough with your hand for about 5–10 minutes. You can stop when the dough becomes smooth, elastic, and not sticky. If it is dry, you can add a teaspoon of water at a time. If the salt dough is too sticky, try adding more flour.
- Step 4: Roll Out the DoughUse a rolling pin and roll the dough out to about ¼ inch thickness. This is a perfect thickness for any of your desirable shapes.
- Step 5: Cut Your Shapes Use cookie cutters of your favorite to cut out desired shapes. For ornaments, use a toothpick or straw to poke a hole at the top for threading ribbon or twine later.
- Step 6: Bake the DoughTransfer the shapes to a baking sheet. Bake for about 3 hours and don't forget to flip halfway through. The ornaments should be hard and dry after the time. The baking time will vary based on the thickness, so you need to keep an eye on your salt dough ornaments.Let the baked ornaments cool entirely before painting. Then you can decorate your salt dough items with paint and glitter.


Hi,
I’m wondering if you can make the dough ahead and keep in fridge until you’re ready to make the ornaments?
Thanks