
Are you a cookie or a brownie fan? Do you love the crunch or the melt-in-your-mouth softness of these cakes? If you love both and can’t decide, these salted brownie crinkle cookies are for you. No chilling time is easy to make and can be enjoyed in various ways at various parties. Next to my favorite salted caramel oatmeal cookies, salted brownie crinkle cookies are a go-to for dessert or snacking without worrying about the calories.
How to make salted brownie crinkle cookies
When it comes to chocolate-based cookies, I immediately think of chocolate chip ricotta cake or chocolate bomb cake with its sweet and bitter taste of melted chocolate. Kids love it! I think salted brownie crinkle cookies are even better.
These cookies have a beautiful crinkled look, a soft and gooey center, and slightly crisp edges. A sprinkle of sea salt on top makes them stand out. These are incredibly simple to make.
Kitchen Tools You’ll Need
The following tools to make a brownie cookie easily, I think you will have some familiar tools available. Besides, if you do not have a hand mixer or stand mixer, invest in one, because it is very convenient to make other types of cakes
- Hand Mixer or Stand Mixer
- Whisk
- Cookie sheets
- Parchment Paper
- Fine Mesh Sieve
Ingredients for salted brownie crinkle cookies

You can see for sure that cocoa powder is the main and most important ingredient in the ingredients that make delicious salted brownie crinkle cookies. However, I have a little to share about how to choose cocoa powder based on your preferences and enjoyment habits.
Cocoa powder used for simple processing has 2 types: Dutch cocoa powder and natural cocoa powder. Of which, I often use Dutch cocoa powder. The cocoa beans are washed in a potassium carbonate alkaline solution. This solution helps neutralize the acidity in the cocoa beans. This type of powder will give a dark brown color instead of reddish brown and makes the cake more eye-catching and the flavor is also richer. You need to note that, because it is neutral, Dutch cocoa powder is often combined with baking powder, instead of baking soda.
The second type is natural cocoa powder made from pure cocoa beans. It is acidic and bitter, with a very rich and concentrated chocolate flavor. Natural cocoa powder is often used in recipes that call for baking soda because the two react together to allow your baked goods to rise. I only use natural cocoa powder in baking when I don’t have Dutch cocoa powder on hand.
However, as you know, everyone has different tastes, so I’m not saying you have to choose one over the other. I just want to make sure you know about these two flours and have a great choice for your first cake
Once you have chosen your favorite cocoa powder, we continue to prepare the equally important ingredients.
- 8 ounces chopped chocolate bittersweet or semisweet
- ⅓ cup vegetable oil
- 2 large eggs
- 1 egg yolk
- 1 cup cane sugar
- 1 teaspoon vanilla extract
- ¾ cup all-purpose flour regular or gluten-free
- ¼ cup unsweetened cocoa powder dutch-processed
- ½ teaspoon sea salt
- ½ cup chocolate chips semisweet
- 1 pinch flaky salt
How to make salted brownie crinkle cookies?
We will get started right away, the recipe I give includes 5 simple steps, in which, I have some notes for you to follow during the baking process. For a fudgy center, make sure you don’t over-bake the cookies. They’re ready when you see cracks forming at the edges and the top is no longer shiny. A slight gloss in the center is fine—carryover cooking will finish them off. If you prefer larger cookies, extend the baking time by a few minutes. Since ovens vary, keep a close watch during the final minutes.
Step 1: Melt the Chocolate
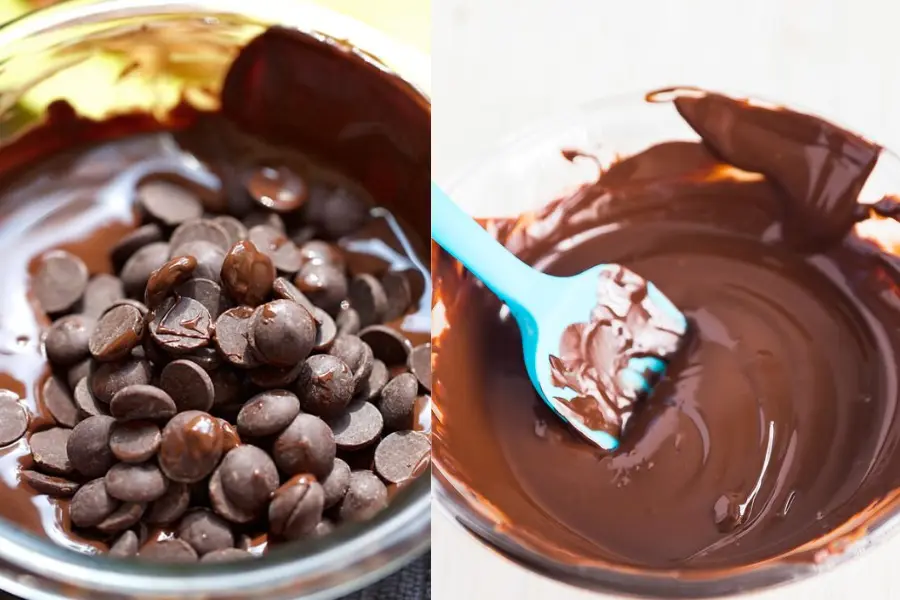
Chop the chocolate into pieces. Put it in a microwave-safe bowl and melt it in the microwave. Stir the chocolate every 15 seconds until smooth. After melting, mix in the avocado oil and let the chocolate cool slightly.
Step 2: Beat the Eggs and Sugar
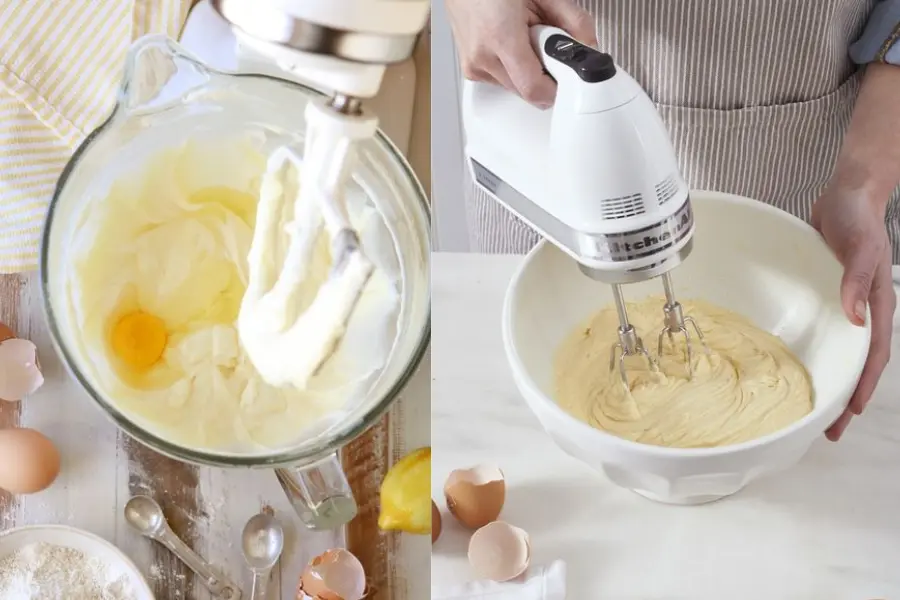
In a bowl, combine the eggs, egg yolk, and granulated sugar. Use a stand mixer with a whisk attachment or an electric hand mixer to beat on high for about 3 minutes. The mixture should turn pale yellow.
Step 3: Combine with Melted Chocolate
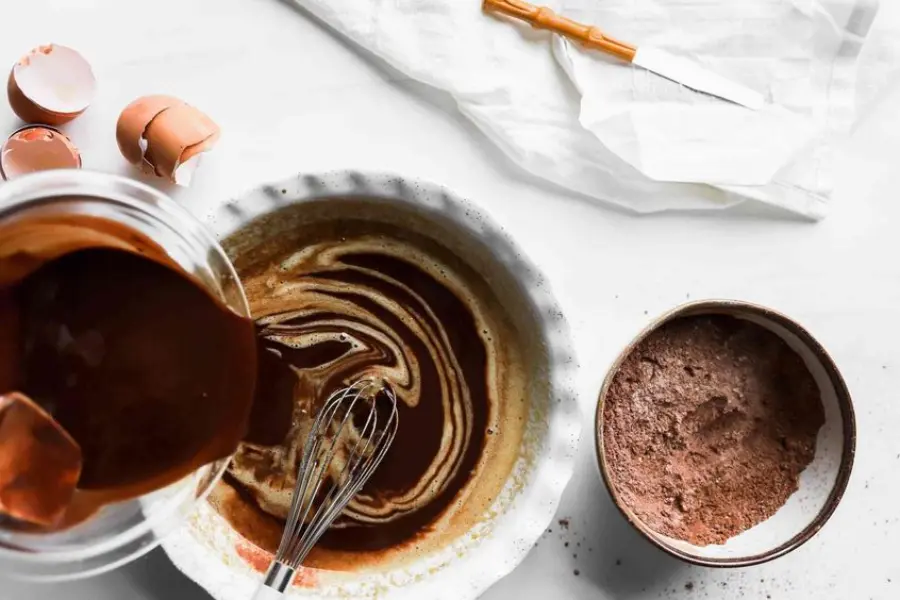
Add the melted chocolate mixture and vanilla extract to the egg mixture. Mix on medium speed until everything blends.
Step 4: Add the Dry Ingredients
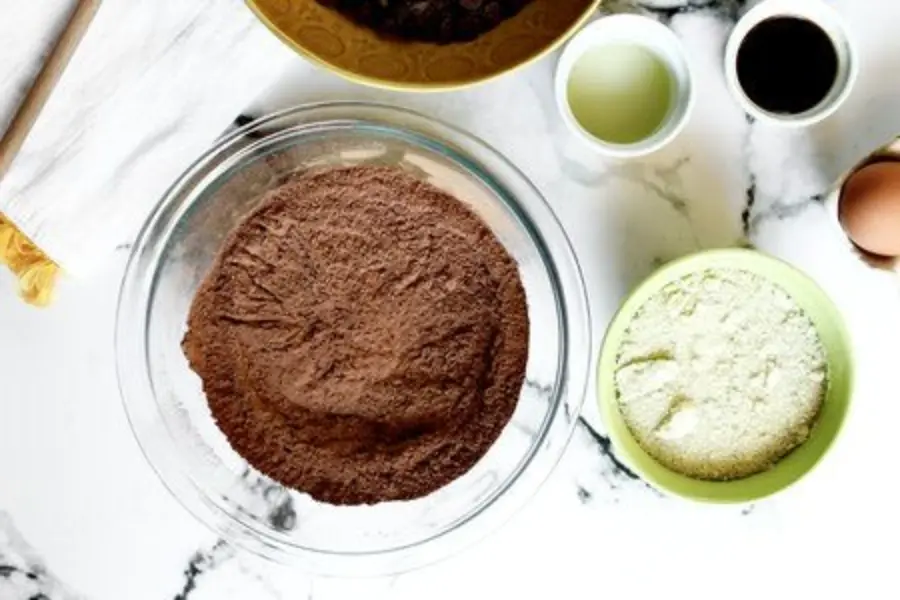
Mix in the flour, cocoa powder, and salt until just combined. Avoid overmixing to keep the cookies soft. Gently fold in the chocolate chips using a rubber spatula or on low speed.
Step 5: Bake the Cookies

Use a large cookie scoop (about 2 or 3 ounces) to place the dough on a baking sheet lined with parchment paper. The dough will be sticky, so leave about ½ inch between each ball.
Bake at 350°F for 10-12 minutes until the edges are set. Let the cookies cool and sprinkle sea salt flakes on top.
Nutrition Facts of Salted Brownie Crinkle Cookies
Everyone in your family loves this cake and wants to eat it regularly. So what are its nutritional values? Look at the nutritional breakdown below to see how it benefits your health!
Total calories: 180 kcal
| Nutrient | Amount | % Daily Value |
| Calories | 180 kcal | 9% |
| Total Fat | 8 g | 12% |
| Saturated Fat | 4.5 g | 23% |
| Cholesterol | 30 mg | 10% |
| Sodium | 150 mg | 6% |
| Total Carbohydrates | 26 g | 9% |
| Dietary Fiber | 2 g | 8% |
| Sugars | 18 g | – |
| Protein | 2 g | 4 % |
| Vitamin A | 150 IU | 3% |
Olivia’s Helpful Tips
For these brownie crinkle cookies, use unsalted butter, which gets melted directly into the chocolate chips, so no need to bring it to room temperature. Opt for semi-sweet chocolate chips, about 1 cup, but keep some extra to sprinkle on top if desired. Ghirardelli 60% cacao bittersweet chocolate is recommended, but you can also use semisweet or dark chocolate with 60% to 70% cacao. Avoid milk chocolate as it tends to be too sweet.
If you want to boost the chocolate flavor, add a teaspoon of espresso powder, though it’s optional. Sea salt flakes make a great topping for a salty contrast to the chocolate, but you can skip it if you prefer or don’t have any available.
The dough requires no chilling, so you can have the cookies ready in about 30 minutes. These cookies freeze well and thaw fast. For the best results, beat the eggs and sugar for a full 5 minutes to achieve a thick, voluminous batter, which is key to the perfect brownie cookie texture.
To get the signature crinkle appearance, scoop the dough onto the trays immediately. Letting the batter sit too long or refrigerating it will affect the shiny cracked top, though the taste will still be good. Bake one tray at a time, swapping trays quickly to maintain the right temperature. Prepare baking trays and preheat the oven before starting. If you prefer, you can bake two trays at once, but make sure to switch their positions halfway through.
For accuracy, weigh your ingredients if you have a kitchen scale. These brownie crinkles also work well as cookie sandwiches, filled with ice cream or buttercream frosting.
What are ingredient substitutes?
Sometimes, you won’t have all the ingredients to make these brownie cookies at home, don’t worry! After trying a few substitutes, I feel the following ingredients are still quite good to use. However, we also have some small notes about the flavor of the cake.
| Semi-sweet chocolate chips | White chocolate chips | Ensure they are gluten-free if that is important. |
| Cane sugar | Coconut sugar | It adds a brown sugar taste and might change the color of the cookies. |
What can salted brownie crinkle cookies be served with?
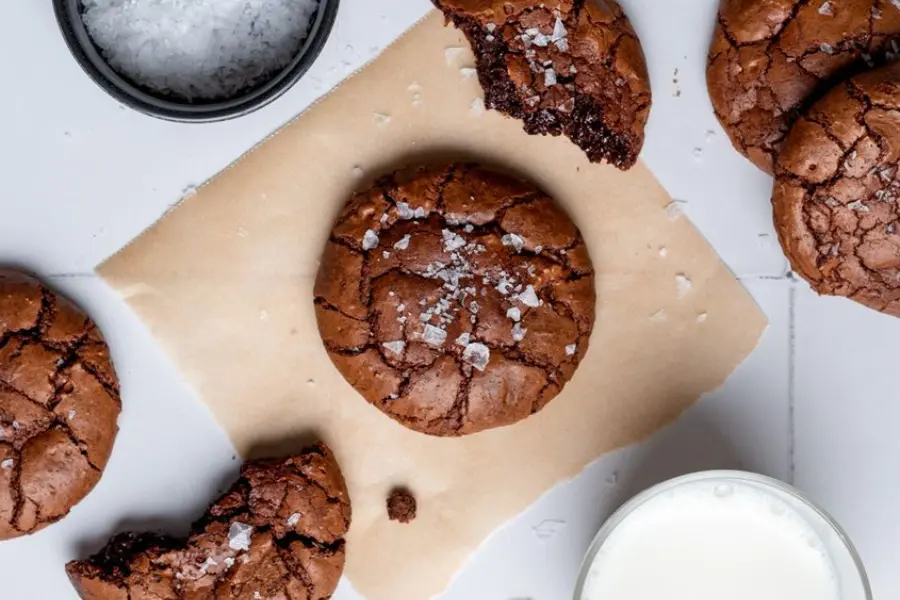
You know, in a comfortable space, in the cold air, or a morning wake-up, a romantic dinner, we can complete it with these wonderful salted brownie crinkle cookies. My first choice is a glass of delicious milk, this is a classic choice to balance the rich chocolate flavor of the cake. Besides, you know it will be great when eaten with a cup of coffee or espresso. Children will love this cake twice as much if eaten with vanilla ice cream, especially the creamy cookie, or fresh berries like strawberries or raspberries to balance the sourness to the sweetness. If you like, nothing can stop you from enjoying a chocolate cake with hot chocolate, the cake helps you relax mentally and improve your mood very well!
Storing leftover salted brownie crinkle cookies
You can definitely make extra cookies to save for when you have them and enjoy them. These cookies are easy to store and can be frozen, and their flavor will still be almost the same as if they were freshly made.
First, the cookies can be stored at room temperature in an airtight container for 2-3 days. Next, you can wrap them in an airtight bag and freeze them for about a month. When you want to enjoy them, just defrost them at room temperature for about 1 hour before eating, or reheat them in the microwave for about 30 seconds.

Salted Brownie Crinkle Cookies
Ingredients
- 8 ounces chopped chocolate bittersweet or semisweet
- 1/3 cup vegetable oil
- 2 large eggs
- 1 egg yolk
- 1 cup cane sugar
- 1 tbsp vanilla extract
- 3/4 cup all-purpose flour regular or gluten-free
- 1/4 cup unsweetened cocoa powder dutch-processed
- 1/2 tbsp sea salt
- 1/2 cup chocolate chips semisweet
- 1 pinch flaky salt
Instructions
- Step 1: Melt the ChocolateChop the chocolate into pieces. Put it in a microwave-safe bowl and melt it in the microwave. Stir the chocolate every 15 seconds until smooth. After melting, mix in the avocado oil and let the chocolate cool slightly.

- Step 2: Beat the Eggs and SugarIn a bowl, combine the eggs, egg yolk, and granulated sugar. Use a stand mixer with a whisk attachment or an electric hand mixer to beat on high for about 3 minutes. The mixture should turn pale yellow.

- Step 3: Combine with Melted ChocolateAdd the melted chocolate mixture and vanilla extract to the egg mixture. Mix on medium speed until everything blends.

- Step 4: Add the Dry IngredientsMix in the flour, cocoa powder, and salt until just combined. Avoid overmixing to keep the cookies soft. Gently fold in the chocolate chips using a rubber spatula or on low speed
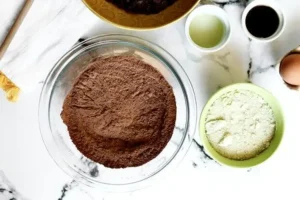
- Step 5: Bake the CookiesMix in the flour, cocoa powder, and salt until just combined. Avoid overmixing to keep the cookies soft. Gently fold in the chocolate chips using a rubber spatula or on low speed.Use a large cookie scoop (about 2 or 3 ounces) to place the dough on a baking sheet lined with parchment paper. The dough will be sticky, so leave about ½ inch between each ball.Bake at 350°F for 10-12 minutes until the edges are set. Let the cookies cool and sprinkle sea salt flakes on top.

Nutrition Facts
Final Thought
Salted Brownies are a treat that is hard to resist. With a crispy, shiny crust topped with semisweet chocolate chips and sea salt flakes, these soft cookies will satisfy any sweet tooth! I hope the recipe above is easy for you to follow, and with the few notes I have given above, we can’t wait to see how your first batch turns out!
Salted brownie crinkle cookies FAQs
To keep your cookies from spreading, line your baking sheets with parchment paper. This helps the dough stay in place. Avoid using a silicone baking mat, as its slick surface can cause the cookies to spread more.
I do not recommend freezing unbaked cookie dough because the chocolate will solidify in the refrigerator. The dough will not cook as well when baked.


